Certificate Signing Request ( CSR ) is a message sent from an applicant to a Certificate Authority in order to apply for a digital identity certificate.
Before creating a CSR, the applicant first generates a key pair, keeping the private key secret. The CSR contains information identifying the applicant (such as a distinguished name in the case of an X.509 certificate) which must be signed using the applicant’s private key. The CSR also contains the public key chosen by the applicant. The CSR may be accompanied by other credentials or proofs of identity required by the certificate authority, and the certificate authority may contact the applicant for further information.
Following are the steps to generate csr in plesk control panel.
1. Log in to your Plesk Panel.
2. Go to the Websites & Domains tab and select the domain you want to secure.
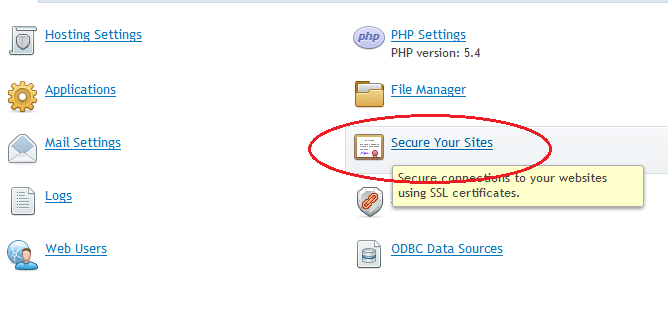
3. Click on ‘Secure Your Sites’.
4. Click on the ‘Add SSL Certificate’ button.

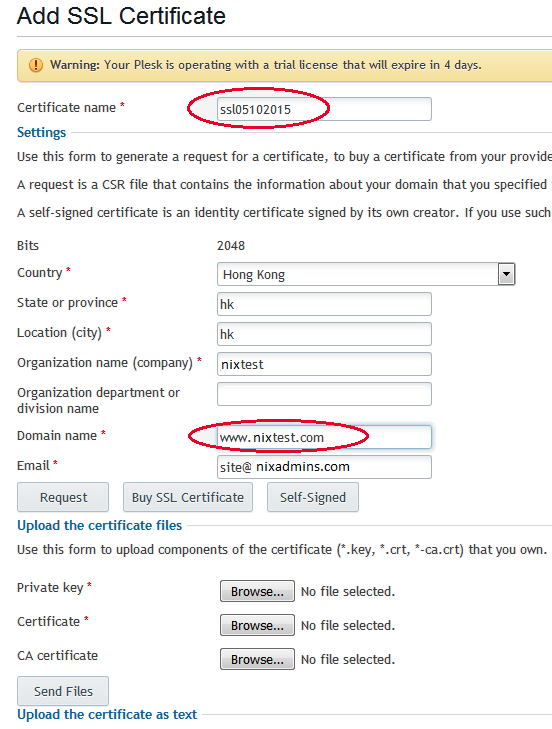
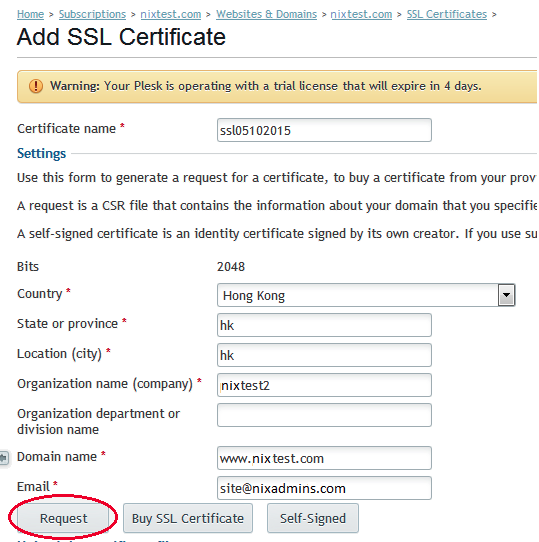
5. On the next page enter the Certificate Name to easily recognize the certificate among the others on the server and fill in the required information for the CSR code:
6. Country: Select your country from the drop-down list.
7. State or province: Provide the complete name for your state or region. If not applicable, you can use your city instead.
8. Location (city): Provide the complete name for your city or locality.
9. Organization name (company): Provide the legally-registered name for your business. If not applicable, you can put ‘NA’.
10. Organization department or division name: Provide the name of division or department within the organization indicated above.
11. Domain name: Enter the fully qualified domain name for which the SSL will be activated (common name). The common name for Wildcard certificates should be represented with an asterisk in front of the domain (*.example.com).
12. E-mail: Enter your email address. The email used for CSR generation will not be used for domain control validation or for reception of the issued certificate.
13. Click on the ‘Request’ button
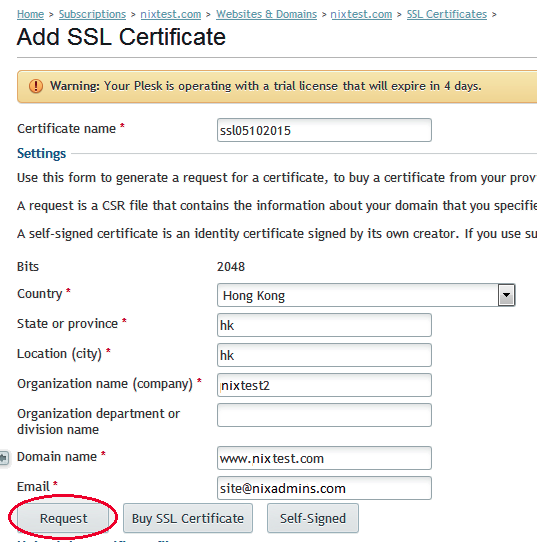
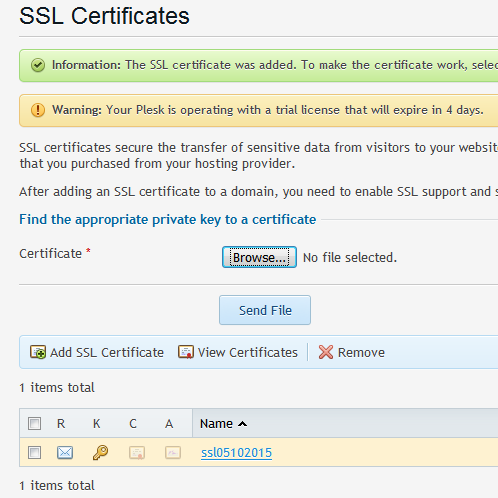
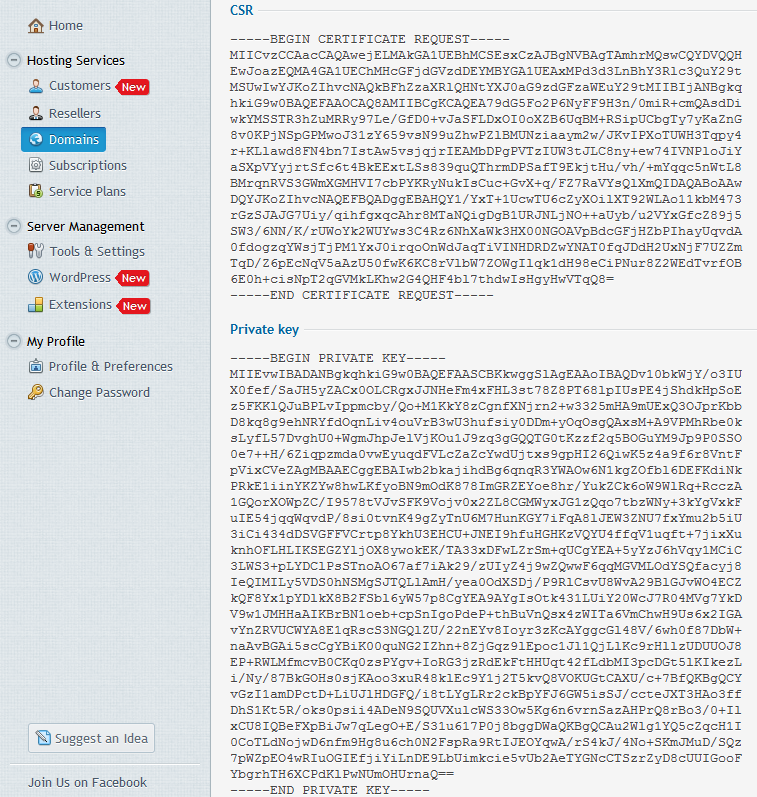
14. A new record will be added to the list of SSL Certificates. Click on the newly created certificate to see the CSR code and the Private Key that were created.