Monitoring tool, Munin Installation on Centos7
Munin is a networked opensource resource monitoring tool that can be used to monitor servers and their services. It displays information gathered from the system as graphs through a web based interface. Here I am referring the steps for munin installation.
Working of Munin
Munin uses RRDTool and written in perl. It has a master-node architecture in which the master connects to all nodes at regular intervals and pulls data, then stores it in RRD files, and generate updated graphs.
Setup EPEL Repository
The basic repository for Centos will have munin installed. We have to enable the EPEL repository to install munin using yum command.
yum install epel-release
Now let us install Munin with command:
yum install munin munin-node
Monit package has dependency packages as rrdtool and httpd package. In my case I am trying the same in a cPanel server so apache is already installed and rrdtool installed along with munin package install. If your server is missing these two packages even after the munin package install. Install the same then only
munin web interface and graphs will work.
By default the above installation creates following directories.
/etc/munin/munin.conf -  Munin master configuration file
/etc/cron.d/munin -  Munin cron file
/etc/httpd/conf.d/munin.conf  -  Munin Apache configuration file
/var/log/munin -  Munin log directory
/var/www/html/munin - Munin web directory
/etc/munin/munin-node.conf  - Munin Node master configuration file
/etc/munin/plugins.conf  - Munin plugins configuration file
After the installation is completed, start Munin and enable it to start on boot.
systemctl enable munin-node
systemctl start munin-node
Activate Web interface.
In case of cpanel installed servers, the apache will not look for any configurations in the directory “/etc/httpd/conf.d”. So what I did is copied over the file named munin.conf in to the directory “/etc/apache2/conf.d”. For this directory already have the reference “Include”. So please do this step as per your current server settings.
In my case below command did the trick.
cp /etc/httpd/conf.d/munin.conf /etc/apache2/conf.d/
Now open file named “/etc/munin/munin.conf” and at line 98 we can entries like below. In that replace address field with our own server IP address or hostname.
# a simple host tree
[localhost]
 address 127.0.0.1
 use_node_name yes
After changes it will look like
# a simple host tree
[localhost]
 address 1.1.1.1
 use_node_name yes
Now lets set htpassword for the username allowed to access munin webinterface. We can see by default for which user has access and whats the defautl password file. In order find out the same open file named /etc/apache2/conf.d/munin.conf and see below section.
AuthUserFile /etc/munin/munin-htpasswd
AuthName "Munin"
AuthType Basic
require valid-user
Lets set password for Munin user using below command.
htpasswd /etc/munin/munin-htpasswd Munin
After that restart munin-node service and apache service in the server.
systemctl restart munin-node
/scripts/restartsrv_httpd
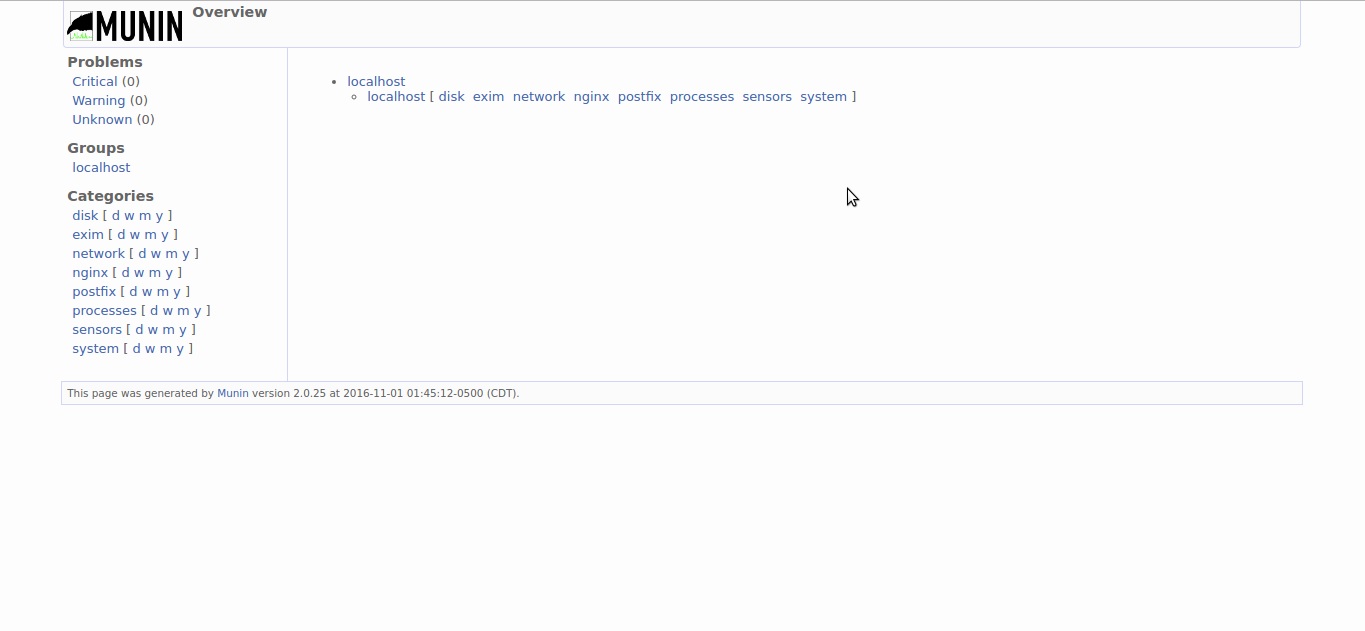
Try to log in to the webinterface using url like ” http://IP-ADDRESS/munin/”
Configure Munin node as a monitoring target.
open file named /etc/munin/munin-node.conf
# line 37: change to your own hostname
host_name dlp.srv.world
By default, there are only few monitoring items(plugins) will be shown in Munin interface. But there are many and we can add them if we need. Those items will be found under the directory /usr/share/munin/plugins/.
For example, here we will add mysql plugins. To do that, create a sym link to the plugins as shown below.
# ln -s /usr/share/munin/plugins/mysql_* /etc/munin/plugins/
Restart munin-node service on your server.
# service munin-node restart
Wait for 5 minutes and you’ll see that the mysql items will be added and it will see up in the munin web interface.